Upgrading the firmware of an electronic density meter is a crucial process that can enhance its performance, add new features, and ensure accurate measurements. As a supplier of electronic density meters, I'm here to share some practical tips on how to do it right.
Why Upgrade the Firmware?
Before we dive into the how - to, let's talk about why you should upgrade the firmware of your electronic density meter. Over time, manufacturers release firmware updates to fix bugs, improve measurement accuracy, and introduce new functions. For example, an update might optimize the algorithm for measuring density in different types of samples, or it could add support for new units of measurement.
Step 1: Check the Compatibility
The first thing you need to do is to check if your density meter is compatible with the latest firmware version. You can usually find this information on the manufacturer's website. Look for a section dedicated to product support, where you'll likely find a list of compatible models and the available firmware versions. Make sure to note down the model number of your density meter before you start.
Step 2: Download the Firmware
Once you've confirmed compatibility, it's time to download the firmware. Head over to the manufacturer's website and find the download section for your specific model. There, you'll see a link to the latest firmware file. Click on it to start the download. It's a good idea to save the file in a location where you can easily find it later, like your desktop or a dedicated folder for downloads.
Step 3: Prepare Your Density Meter
Before you start the upgrade process, make sure your density meter is in good working condition. Check the battery if it's a portable model, or ensure it's properly connected to a power source if it's a bench - top unit. Also, clean the sensor and any other parts of the meter to avoid any interference during the upgrade.
Step 4: Connect the Density Meter to Your Computer
Most electronic density meters can be connected to a computer via a USB cable. Plug one end of the cable into the density meter and the other end into an available USB port on your computer. Some meters might require additional software to be installed on your computer first. If that's the case, follow the instructions provided by the manufacturer to install the software.
Step 5: Start the Upgrade Process
Once the density meter is connected to your computer and the necessary software is installed, open the firmware upgrade tool. This tool is usually provided by the manufacturer and can be found in the software package you installed. Follow the on - screen instructions to load the firmware file you downloaded earlier. The tool will then guide you through the upgrade process, which might take a few minutes.
Step 6: Wait for the Upgrade to Complete
During the upgrade process, don't disconnect the density meter from the computer or turn it off. The upgrade is a delicate process, and any interruption could cause the meter to malfunction. Once the upgrade is complete, the tool will usually display a confirmation message.
Step 7: Test the Density Meter
After the upgrade, it's important to test the density meter to make sure it's working properly. Take a sample with a known density and use the meter to measure it. Compare the result with the known value. If the measurement is accurate, then the upgrade was successful. If not, you might need to troubleshoot the issue or contact the manufacturer for further assistance.
Troubleshooting Tips
If you encounter any problems during the upgrade process, here are some common issues and solutions:
- Connection problems: If your density meter isn't recognized by your computer, check the USB cable for any damage. Try using a different USB port or cable.
- Error messages: If you see an error message during the upgrade, refer to the manufacturer's documentation or support website. They usually have a list of error codes and solutions.
- Incomplete upgrade: If the upgrade process stops before it's complete, try restarting the density meter and your computer, then start the upgrade process again.
Related Products
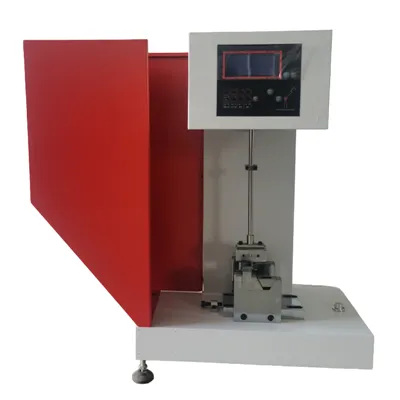
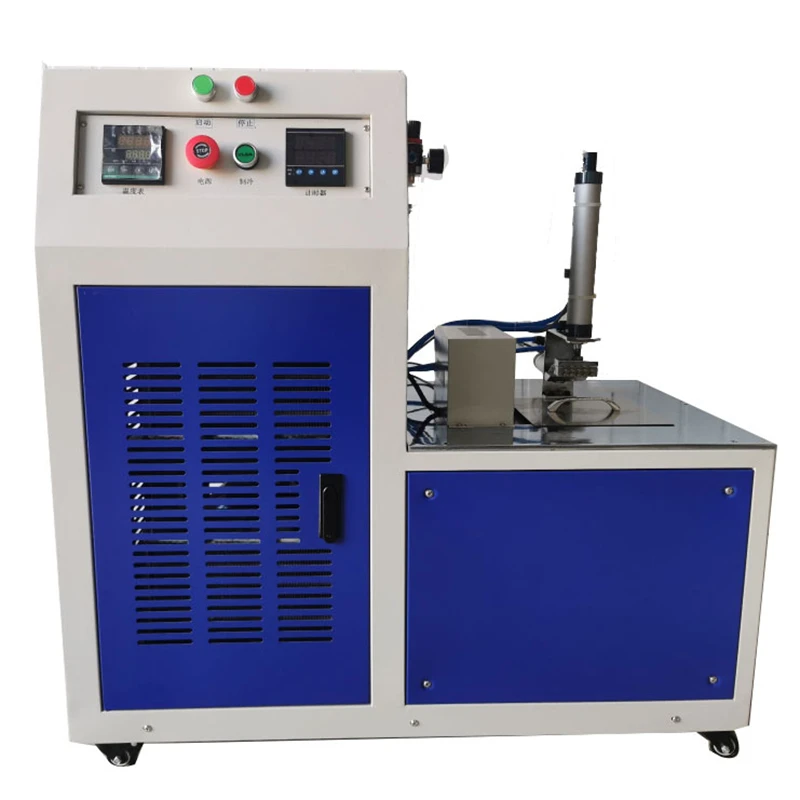
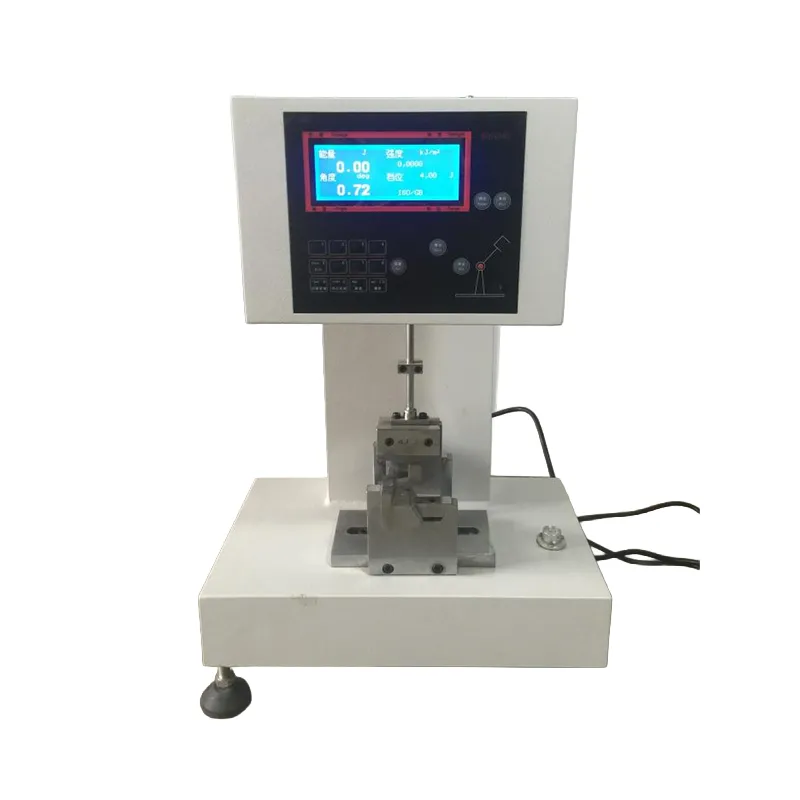
As a supplier, we also offer other testing equipment such as the Charpy Pendulum Impact Test Machine, the Low Temperature Brittleness Tester, and the Hdt Vicat Tester. These products are designed to meet various testing needs in different industries.
Contact for Purchase
If you're interested in upgrading your electronic density meter or purchasing any of our testing equipment, we're here to help. Contact us to start a purchase negotiation. We can provide you with detailed product information, pricing, and support.
References
- Manufacturer's user manual for the electronic density meter.
- Manufacturer's website for firmware updates and product support.